How to enable SSH on your Linux machine so you can access that computer from another
To be specific.. Ubuntu
Before we begin...
This is my first blog, and I initially made a tutorial on this on twitter, I did get some critic and feedback which I will implement on this blog, because you know what? People were right.
This tutorial is how to enable SSH on Ubuntu, and for it, we are going to be using password authentication.
Now, this is where all the critic and such came in. I had nice people telling me to make a tutorial about SSH keys, and how using password authentication is not always the best idea, and I took their advice, because they were right! Then I had people telling me "YOU'RE GONNA GET PEOPLE HACKED" and I was just like.... block.
Anyhow.....
I completely understand that password authentication is not as safe as SSH keys. Password authentication is only great if you use a strong password. Clearly, if you're using 'password' or '(insert your kids DOB here), you may.. get hacked.
So this tutorial is mostly meant for beginners.
Let's begin!
First, what is SSH?
SSH stands for Secure Socket Shell. In the most simple definition, it allows for a user, like a sysadmin, to access one computer from another over an unsecured network.
Why do I use SSH?
I use it because I have two laptops. A windows one, and another one where I completely wiped it and replaced it with Ubuntu. I used the Linux machine for learning purposes since I want to be a linux sysadmin, and I do a lot of stuff on there to practice and learn. The Linux machine's battery is the worst, and the second I unplug it, the laptop dies. So instead of carrying it around with the charger everywhere, I leave it open and on and I enabled the SSH server so I can work on it.. from my windows laptop using puTTY
Alright for real, now let's begin
1. Run this command on the terminal of the Linux machine:
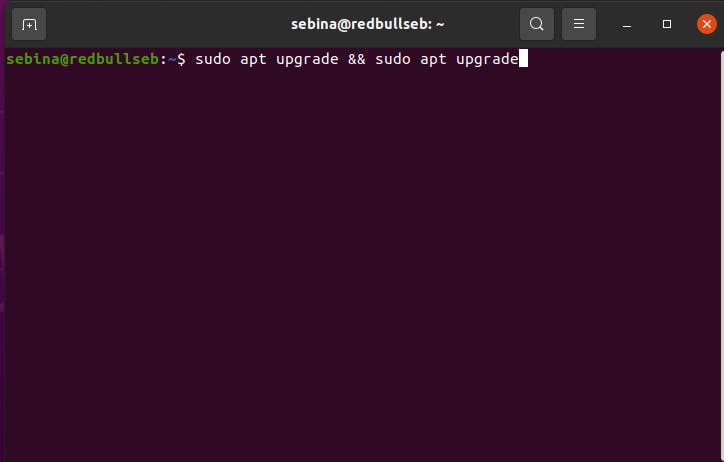
sudo apt update && sudo apt upgrade
We do this command to make sure the computer itself is up to date.
If updates are needed, go ahead and update, if not, move on to the next step.
(iamsorrythescreenshothasatypo)
2. Now that the computer is updated, we will install the SSH server. To install, run this command:
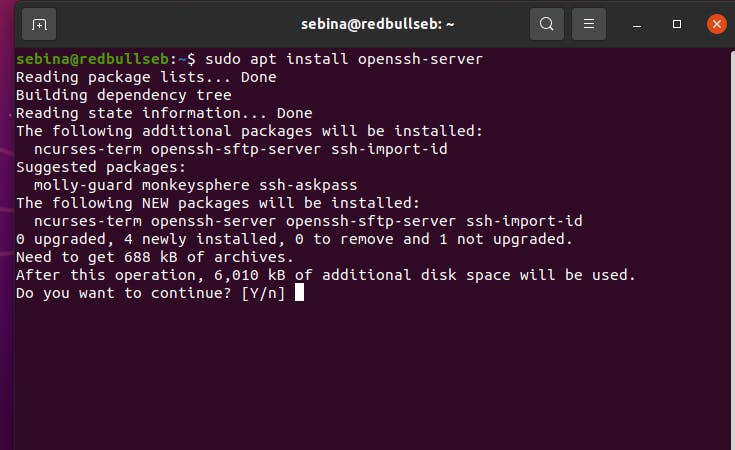
sudo apt install openssh-server
It should prompt you to continue installation, so hit the y on your keyboard and let it install.
3. After this, we are going to check to see if it running. Typically, after installing, it should automatically start. To check, run this command
sudo systemctl status ssh
It should say "active: (running)" if it is good to go. Press q to go back to the other screen.

4. What do I do if it says inactive?
Go back to the command line prompt & do this command:
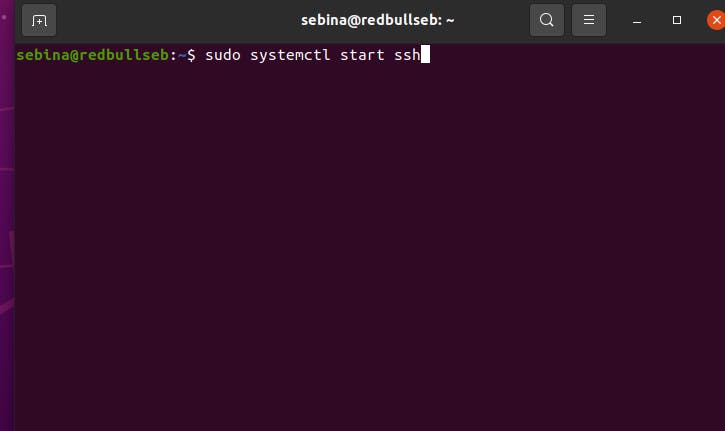
sudo systemctl start ssh
then run the command in the above tweet to make sure it started.
Once you have confirmed that it is running, move on to the next step
5. Ubuntu users will need to open up an SSH port on their machines due to a firewall configuration tool that comes with it called UFW. To do this, run this command:
sudo ufw allow ssh
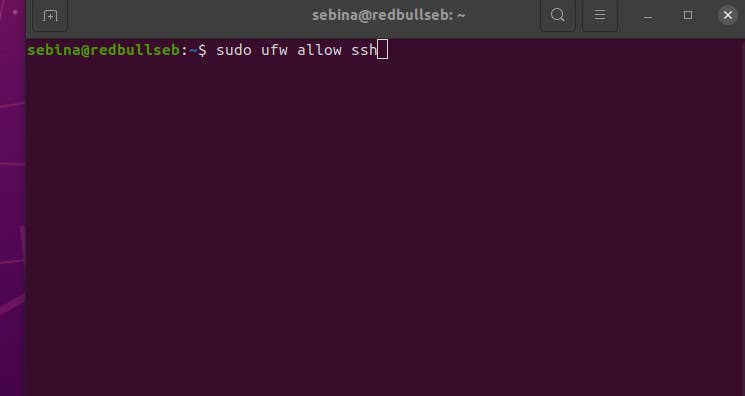
This should then allow you to SSH into the machine.
6. At this point, your machine should be ready for SSH access. I suggest grabbing your IP address if you don't know it. To find out the IP, run this command:
ifconfig
This will tell you what the IP is. You'll need it for the next step!
7. On another machine, download PuTTY
You can find the download here
PuTTY is an SSH client.
To read more about PuTTY and how it is used, go to this link
PuTTY Home - Free Downloads, Tutorials, and How-Tos
8. The download and installation for PuTTY is simple and straight forward. Once it is installed, this is what you should see:
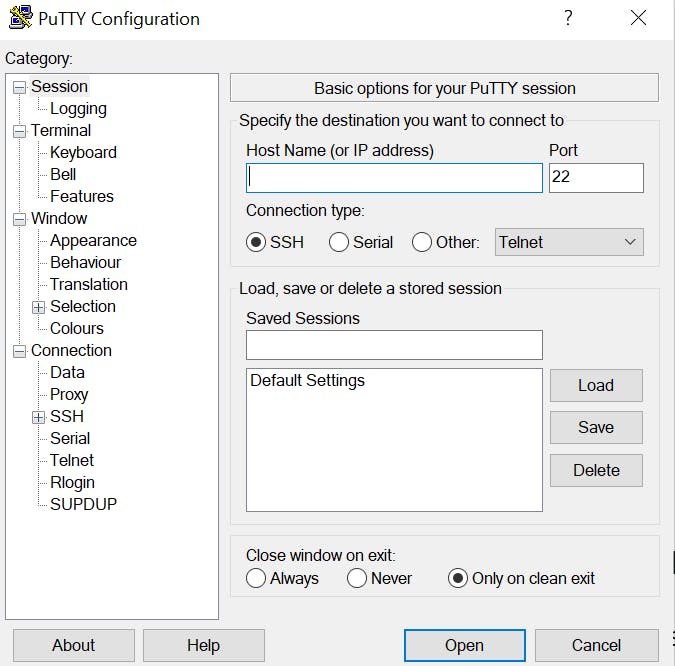
9. The port I left at 22 (teehee), connection type SSH, and the host name, I recommend just doing the IP address. Go ahead and connect.
Also, I am aware that 22 is not the best port to use, butt... strong password is the key. Plus, you can change the port but I shall leave that to the next tutorial. Pls don't cancel me for that.
Unfortunately, I don't have a screenshot of the next part. But the next window should basically ask you if you trust the host, click yes.
10. Now, it will ask you to login in.
The username you input should be the username you use on the other machine, and the password will be the one you use for that username

11. If successfully logged in,
The bottom of the terminal you should see your
username@themachinename:~$
Congrats, now you can SSH into your Linux machine. :)
By the way..
I got some more feedback after posting this and people said to mention that this tutorial is only recommended in LAN. So, please be aware!